Get started in 5 minutes
This walks you through signing up, connecting a platform, registering an agent, and watching a real action flow through AgentValet end-to-end.
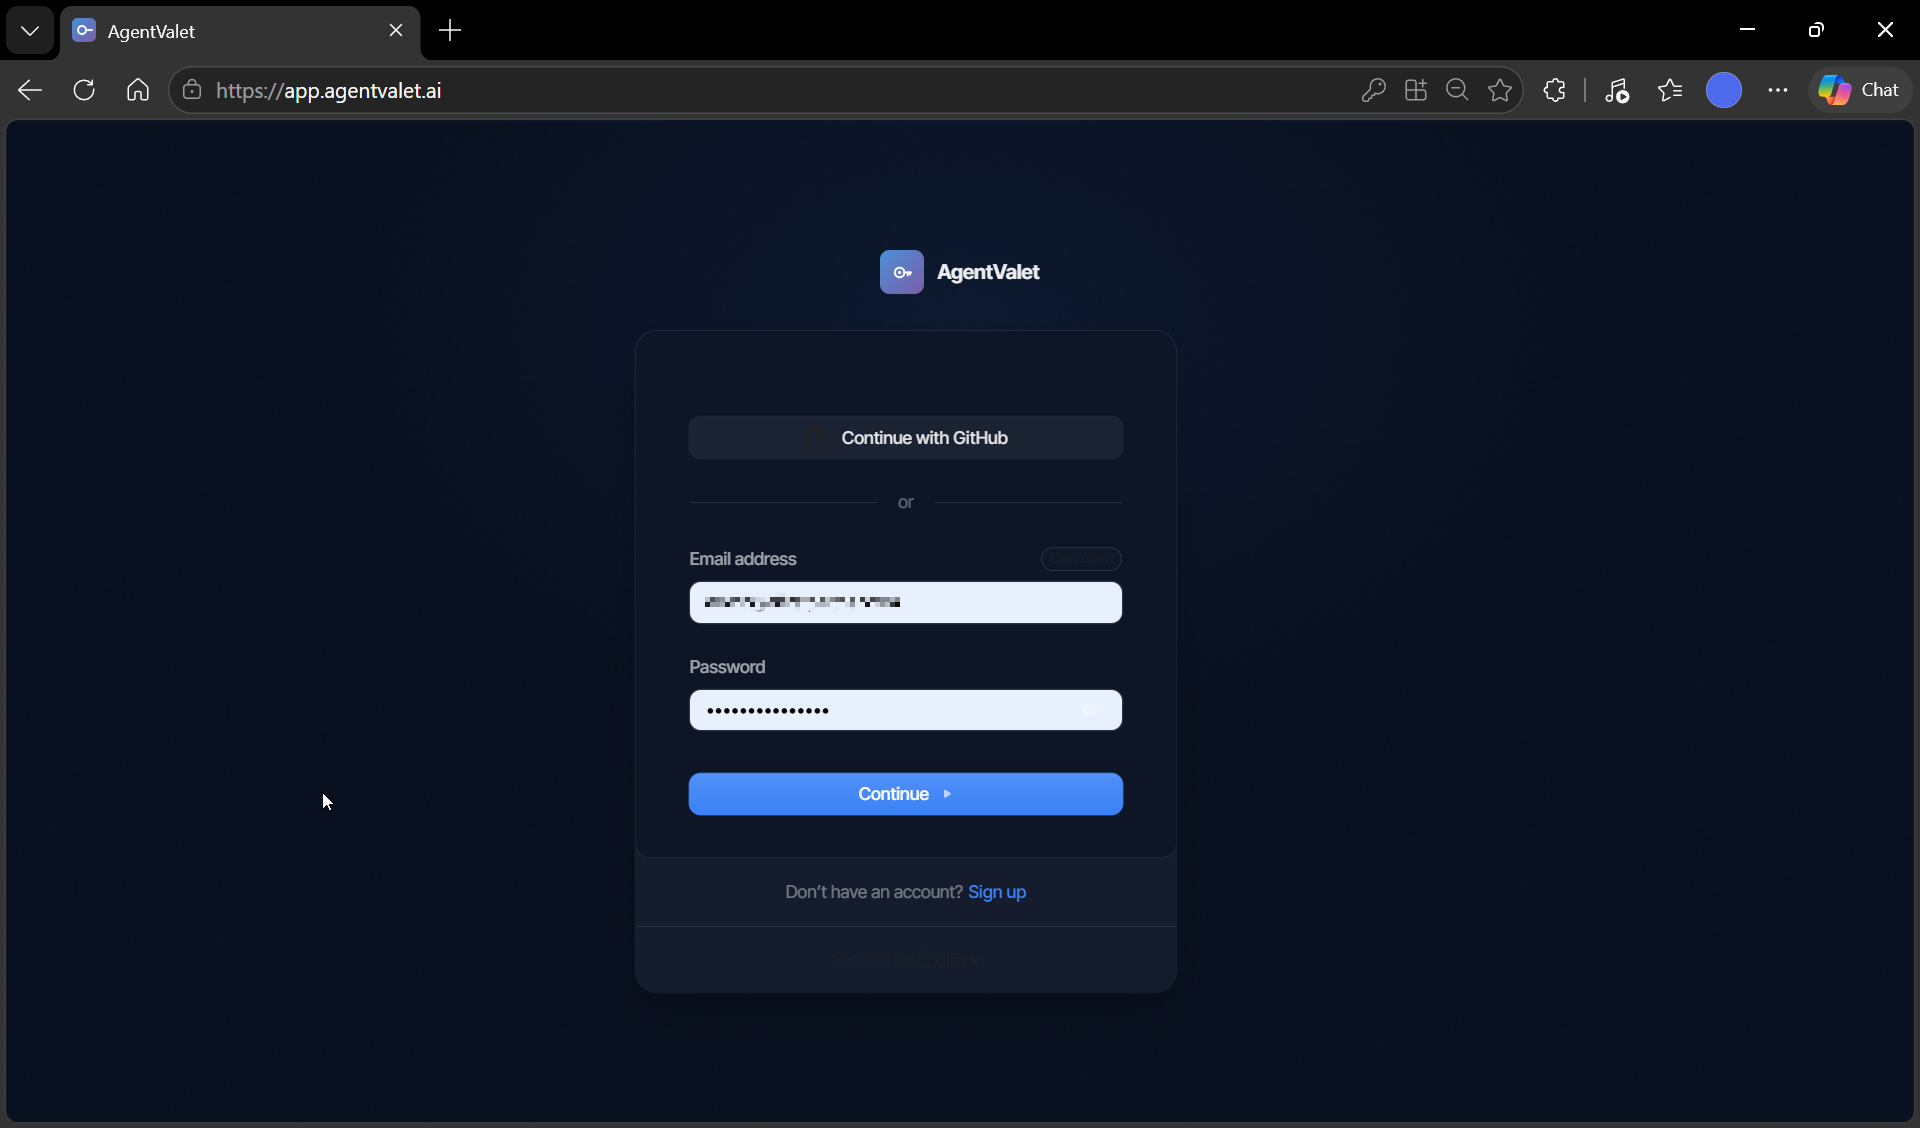
1. Sign up
Go to app.agentvalet.ai and create an account. You can sign up with email or GitHub.
You land on the dashboard with an onboarding tour. You can take it or skip it — this guide covers the same ground.
2. Connect a platform
Open Platforms from the sidebar. Pick something low-stakes for your first connection — a Slack workspace you can experiment in, a personal Gmail, a Notion you don’t share with anyone.
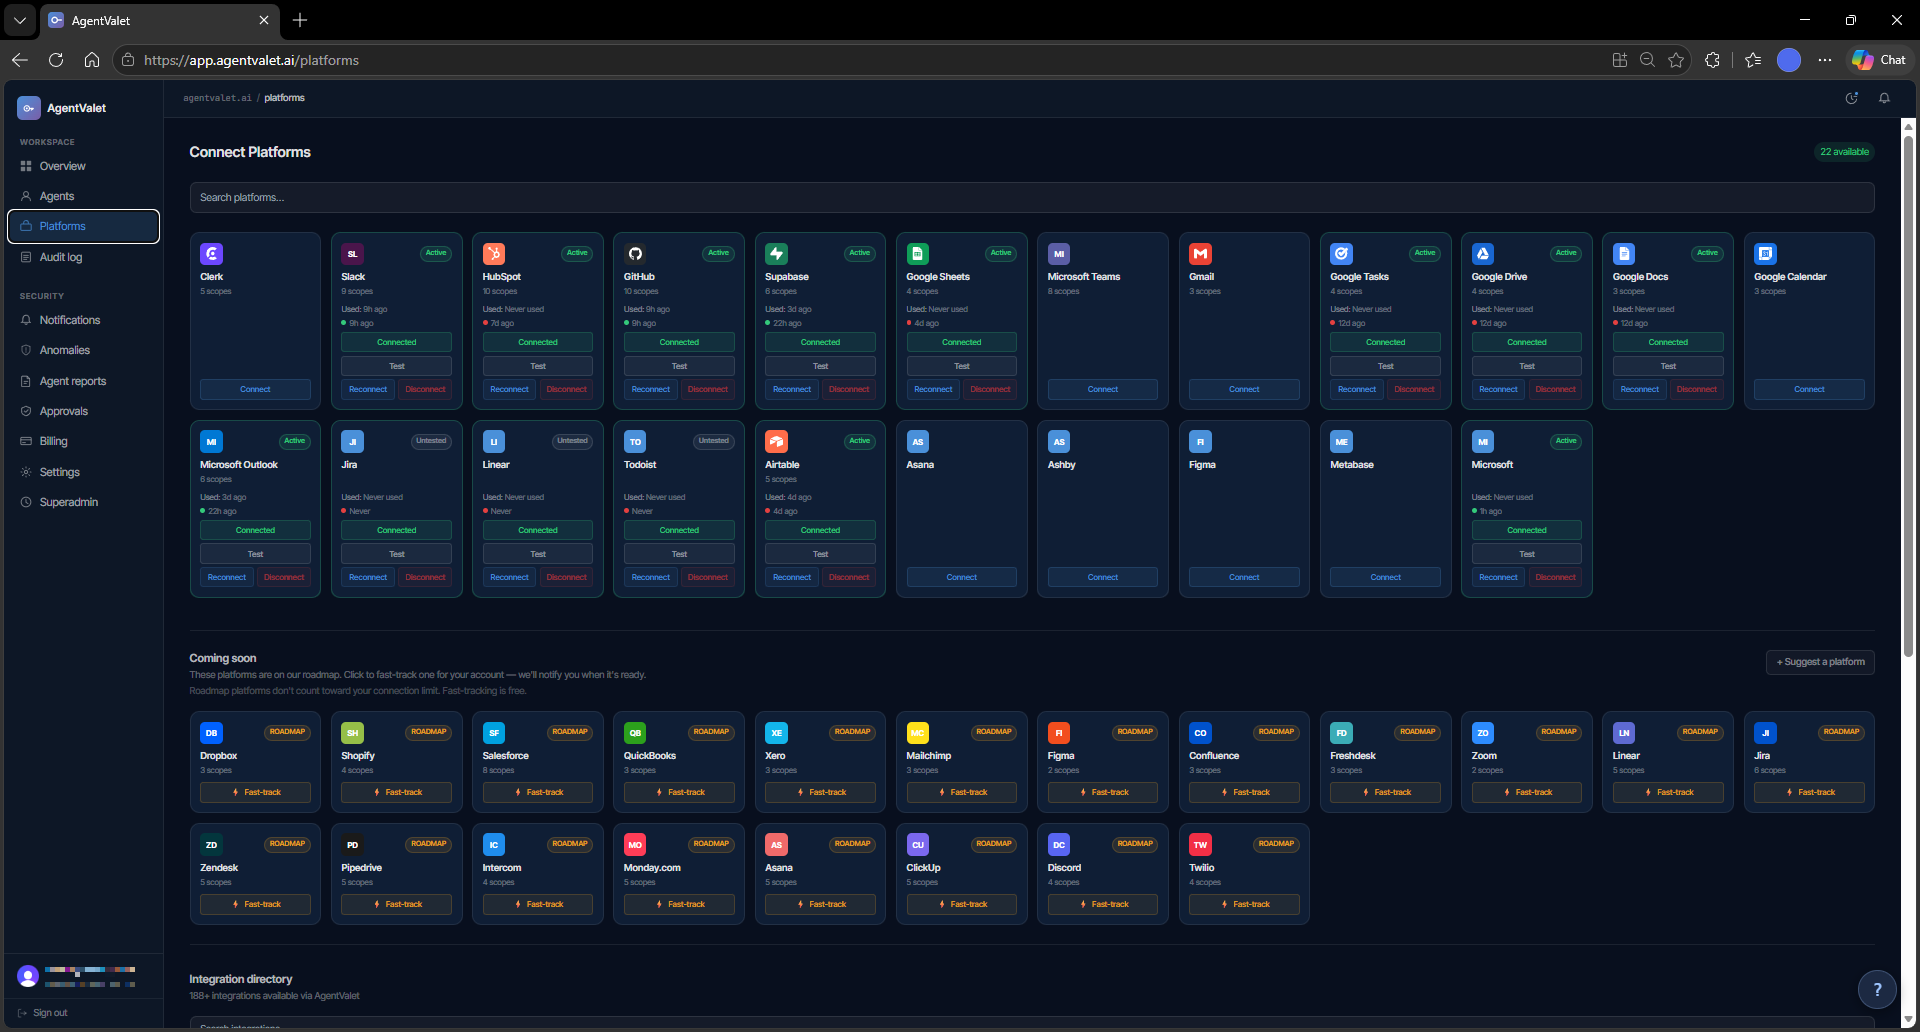
Click Connect. For OAuth platforms you’ll go through the provider’s normal authorisation flow. For API-key platforms you’ll paste a key. Either way, AgentValet encrypts what you give it and stores it in a vault — you can disconnect any time.
3. Register your first agent
Pick the agent runtime you actually use.
Option A — Claude Desktop or Claude Code (recommended)
-
Download the AgentValet extension (
agentvalet-latest.mcpb).- On macOS and most Windows installs: drag the
.mcpbfile into Claude Desktop’s extensions window. - On Windows 11 / Claude Desktop from the Microsoft Store: drag-and-drop is sometimes blocked. Use Settings → Extensions → Advanced settings → Install extension and pick the
.mcpbfrom disk.
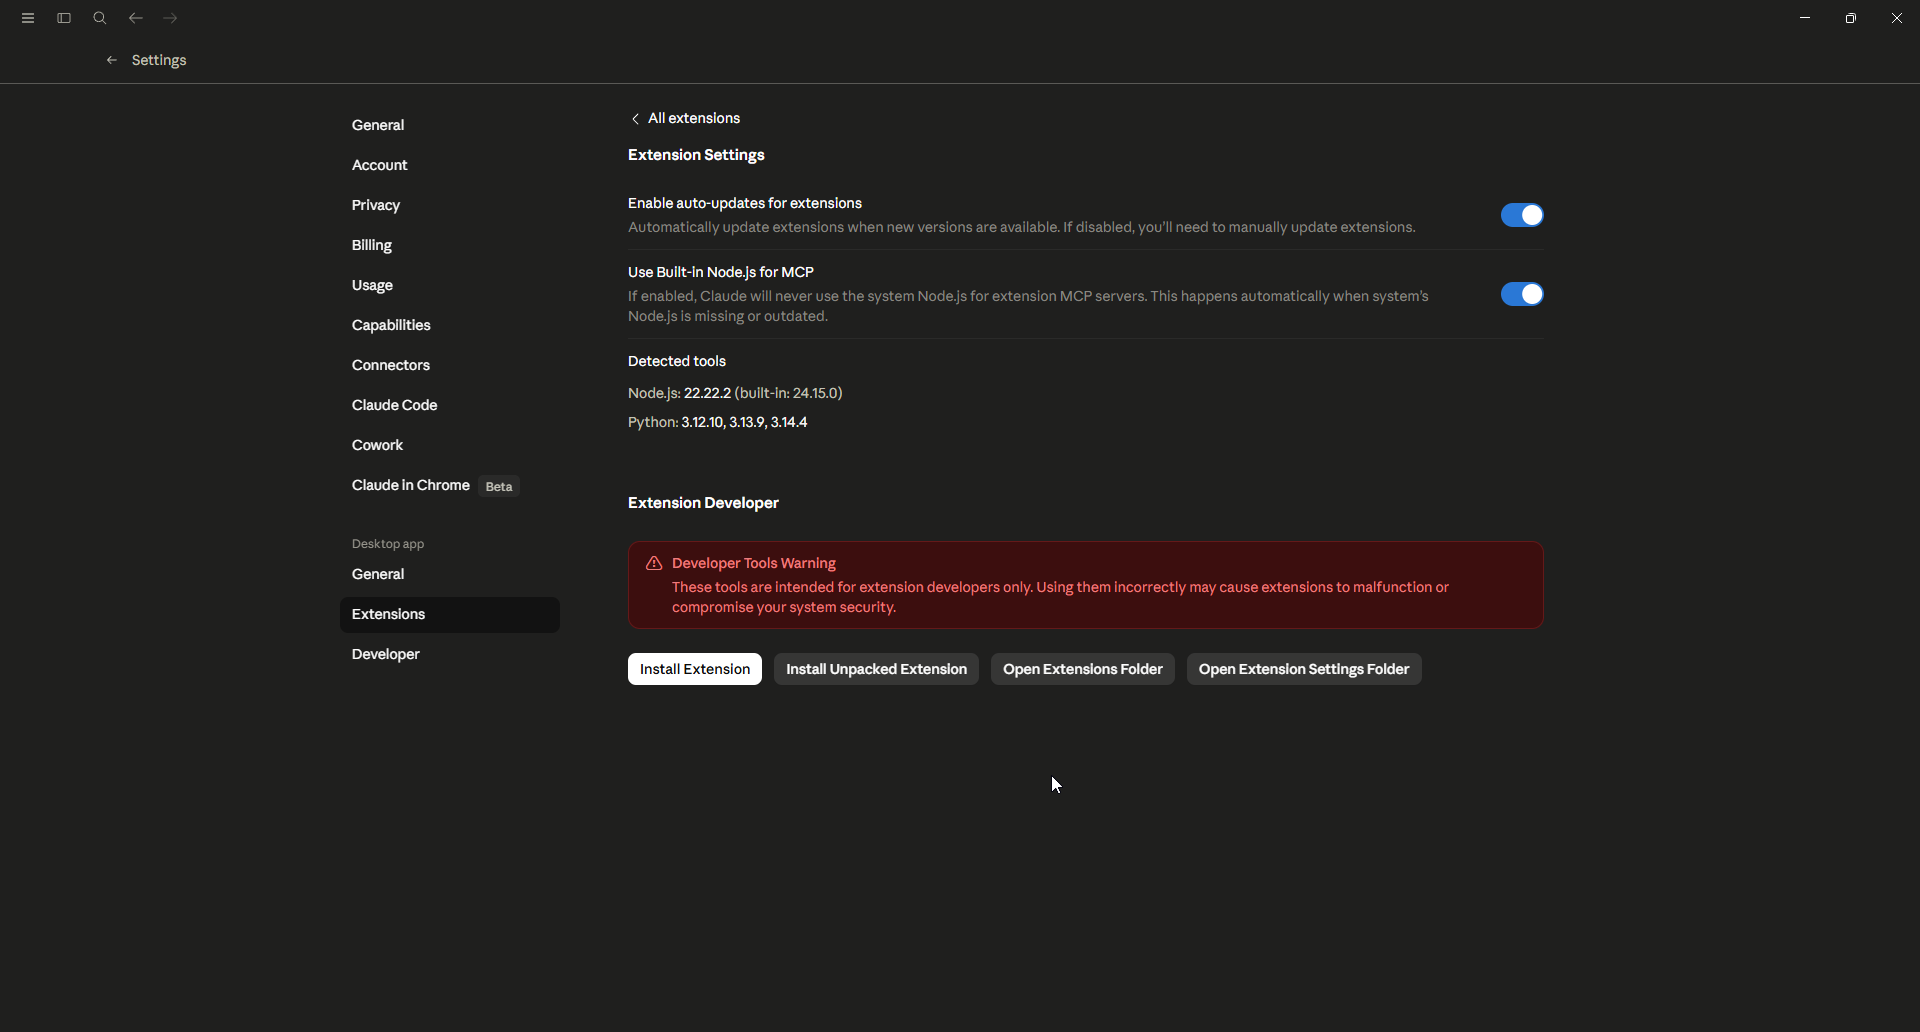
Windows 11 store install: use Advanced settings → Install extension if drag-and-drop is blocked. - On macOS and most Windows installs: drag the
-
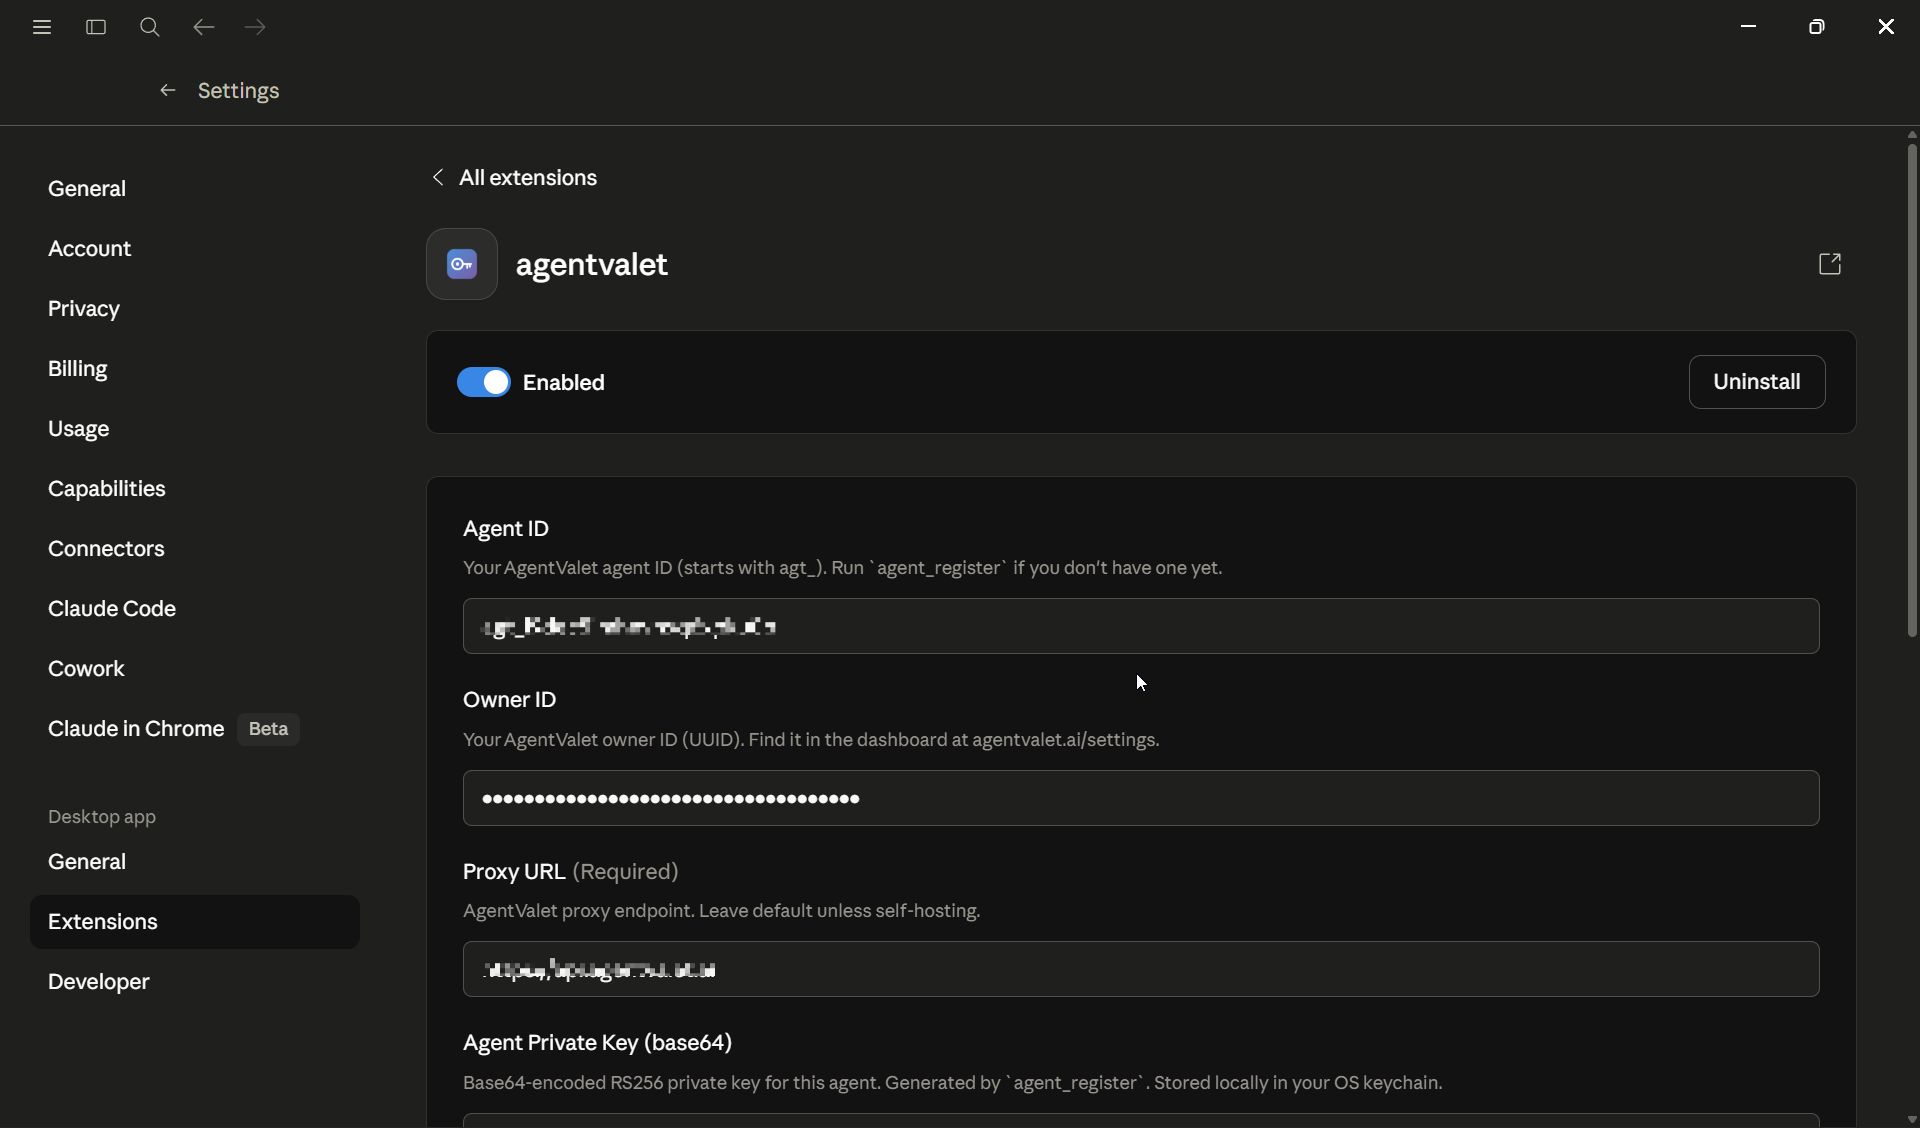
Copy your owner ID from the AgentValet dashboard at Settings → Owner ID. It’s a UUID.
-
In Claude, ask it to register itself and give it the owner ID: “Register this Claude instance with AgentValet using owner ID
<your-uuid>. Call it ‘My MacBook’.” Claude calls theagent_registertool and returns a registration token. -
Approve the registration in your dashboard at Agents → Pending. Pick the platforms and scopes you want to grant.
-
Back in Claude, run
agent_statuswith the token. It returns the agent ID and private key. Paste them into the AgentValet extension’s settings fields in Claude Desktop. Restart the extension.
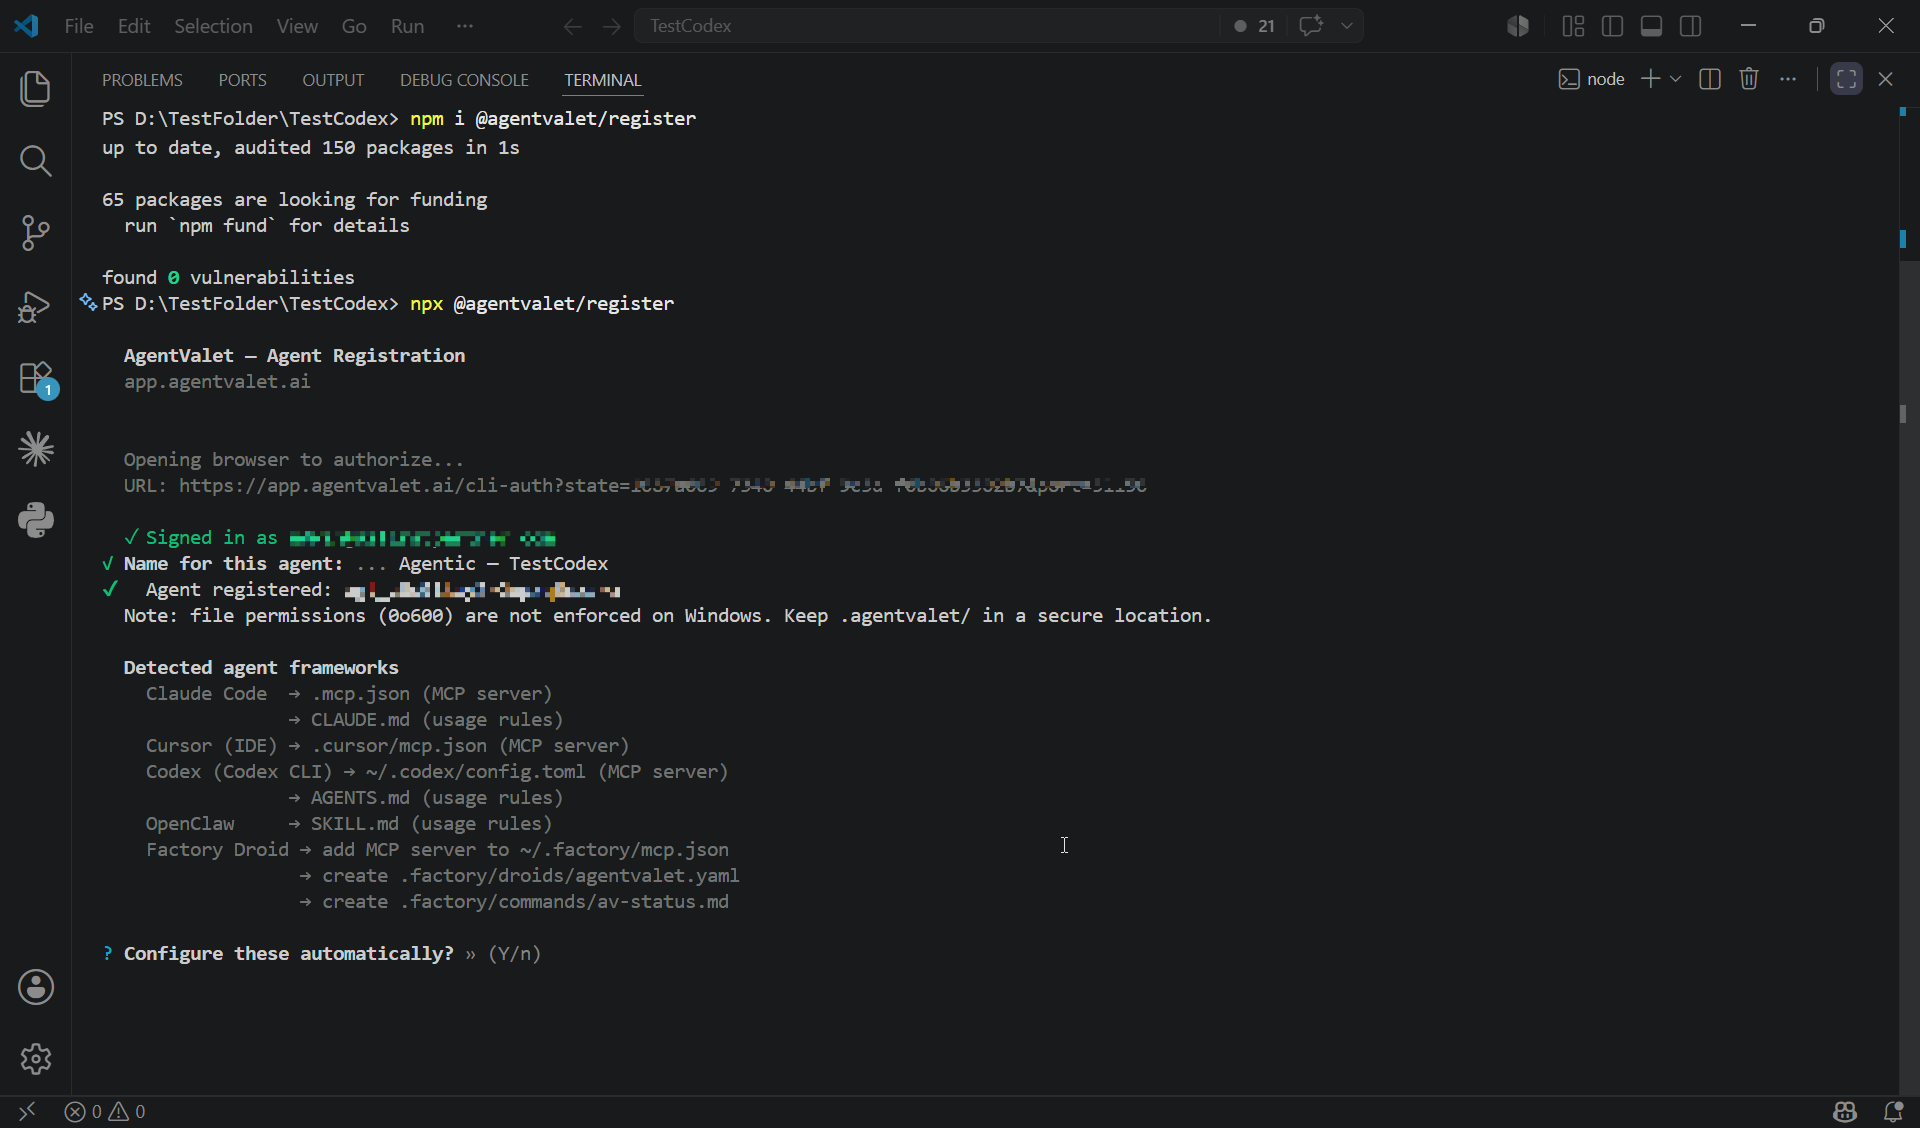
Option B — CLI (for scripts, codebases, dev environments)
In your project directory:
npx @agentvalet/registerThe CLI opens your browser to sign in, then generates a keypair, registers the agent under your account, and writes a config to ~/.agentvalet/. Any time that project calls an AgentValet tool, it’ll use this identity.
4. Confirm it’s wired up
Before granting any scopes, ask the agent to call list_platforms. It returns the platforms approved for this agent — initially an empty list, and that’s fine. What matters is that the call succeeds.
This one call proves three things at once:
- your agent’s private key is valid and signs correctly
- the AgentValet proxy can reach Supabase
- the agent record exists and is marked active
If list_platforms fails here, fix it before going further — granting scopes against a broken setup just makes the failure harder to diagnose later. The error message usually points at which of the three pieces is wrong.
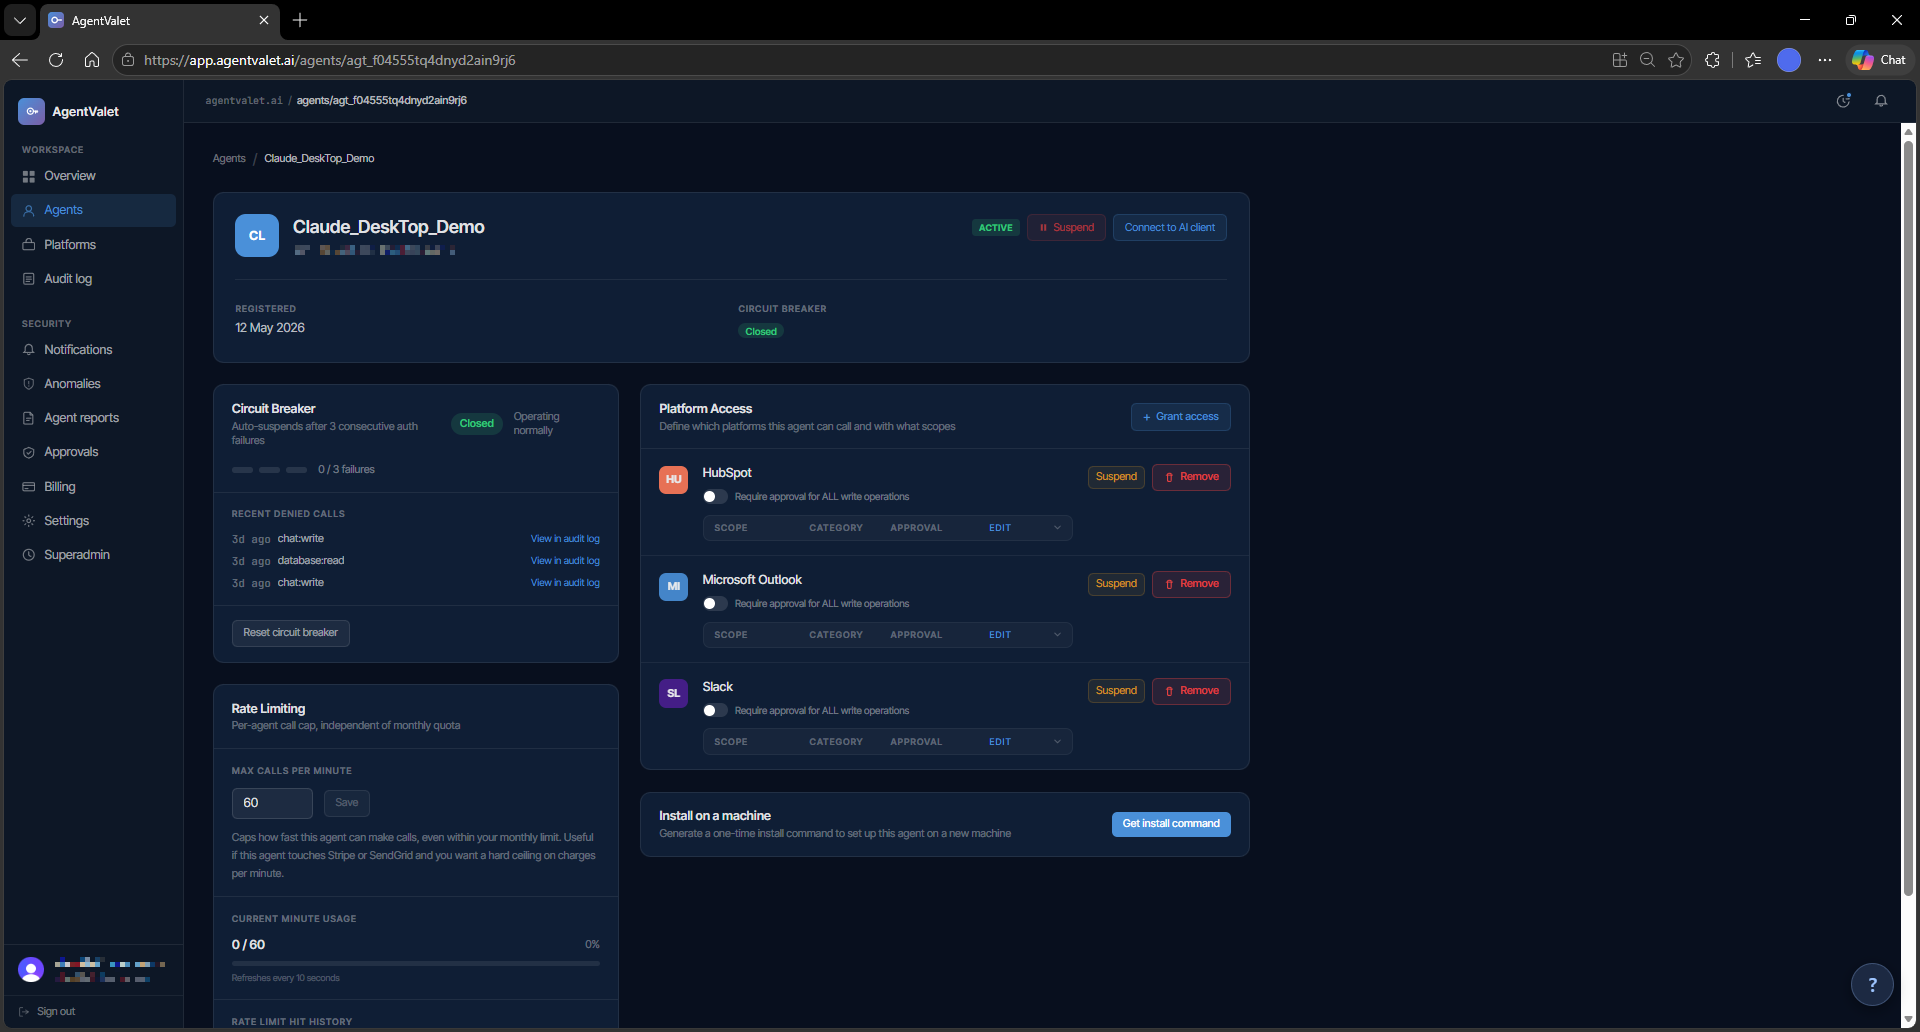
5. Grant the agent some scopes
In Agents → [your new agent], click Add permission. Pick the platform you connected in step 2 and select the scopes you want this agent to have.
Each scope you add carries a require_approval toggle. A few rules of thumb:
- Read scopes — usually safe to leave auto-approved.
- Write scopes — start with approval on. Drop it once you’ve watched the agent for a while.
- Destructive scopes (delete, send, charge, archive) — keep approval on. The system will let you turn it off; you shouldn’t.
See Scopes & permissions for the full model.
6. Make a call
Ask your agent to do something using a scope you just granted. For example: “Post a hello message to my #test channel in Slack.”
What happens behind the scenes:
- The agent signs a request with its private key and sends it to AgentValet.
- AgentValet verifies the signature, checks the agent has
chat:writefor Slack, decrypts your Slack credential, and forwards the call to Slack. - Slack returns success. AgentValet logs the action — agent, platform, scope, timestamp — to your audit log.
Check Audit in the sidebar. Your call is there. Nothing the agent did to your Slack is unobservable.
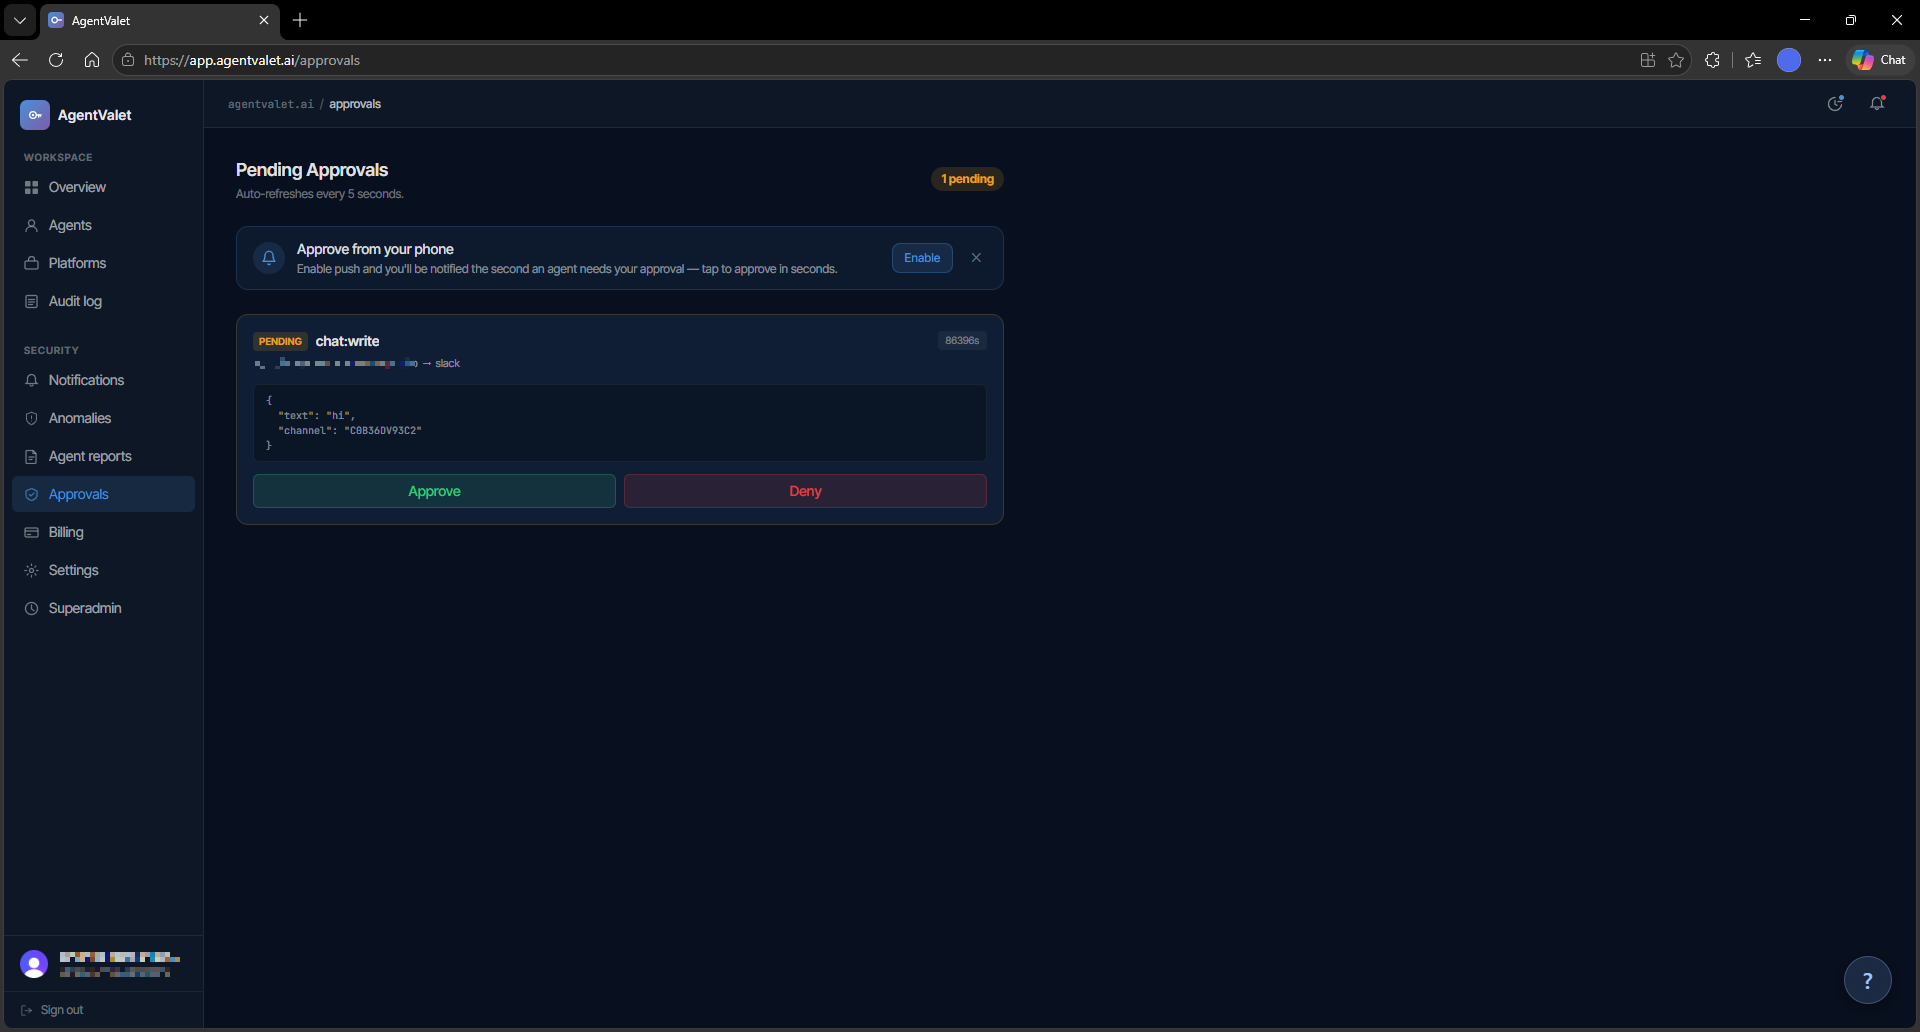
7. Try something that needs approval
Ask the agent to do something destructive — delete a Slack message, send an email, archive a channel. This time, instead of acting, it’ll come back with: “That’s queued for approval.”
Open Approvals. Approve or deny. If you approve, the original action executes and you see the result. If you deny, nothing happens and the denial is recorded in the audit log.
That’s the whole loop. Connect → register → grant → call → audit (or approve). Everything else in the product is a refinement of these five steps.